The point-of-sales (POS) system stores the data of every item in your store, and controls the pricing. This uses basic principles of supply and demand, so when you sell an item to a customer, it will ask you how much they are paying for it.
The method that is used by this is called dynamic pricing , which will set the price of an item depending on how much demand there is for it. Every customer has a different price, depending on what they buy and how much they pay for it. It is a very efficient way to run a business, but only if you use all the functions that are included with your POS system.
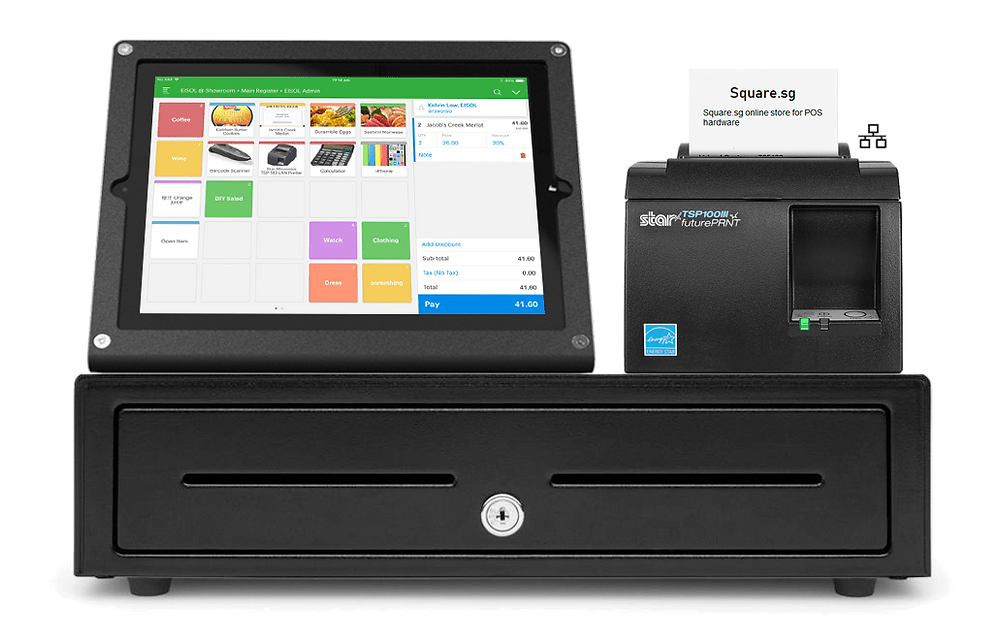
The following are the components necessary to set up your point of sales system:
- cash register/POS terminal
- barcode scanner(optional)
- receipt printer (optional)
- computer
- modem or network connection for internet access
Setting up your point-of-sale system is not difficult (or it shouldn’t be), but can definitely take some time if you go about it in a more complicated way than necessary. So let’s get started with your first step.
Connecting to the printer.
Whether you’re using a cash register or POS terminal, chances are there is already an available port on it where you can plug in the printer cable. USB cables work best because most printers come equipped with them these days, but some older equipment may require other cables so check the manual.
After you plug in the printer to your POS system turn it on and print out a receipt just to make sure that everything is working correctly. If you get the response “paper jam” or “printer offline,” then there may be problems with your printer or your connection and you will need to troubleshoot until they are resolved.
If everything seems to be working correctly, move on to the next step.
Setting up your computer.
First of all, assuming you will use a Windows platform, these steps should also work for Mac users (if not they can definitely be easily adapted). Go ahead and plug in your computer, printer, and modem (if you are using one) to the power outlet and then into your POS system.
The next step is very easy if you have ever used a USB printer before because it works pretty much the same way. After everything has been plugged in correctly, access your start menu on your computer and find “programs.” This will pull up a list and you should see “add new hardware.” Click that and then the next window on the screen should show all of your available USB ports. Scroll down to find yours, click it, then put in your passcode or leave it blank if there isn’t one.
Once finished, Windows will have installed your printer and you will see a new display icon in the “printers and devices” section of your start menu. You can open it up to test if everything is working correctly. If the printer is not listed then you may need to reboot your computer before continuing.
Setting up your POS system.
Now that we have taken care of getting your computer and printer connected, let’s move on to the actual hardware. You will need a basic understanding of your software because it is going to ask you some questions about the basic functions of your system. The first thing you should do when you open up your POS program is go to “settings.”
In this window, there should be at least three different tabs: “settings,” “inventory,” and “store.” Depending on what type of system you have, there will be a different layout under each category. For example, if you are working with a cash register the first tab may not even exist so it is up to you whether or not you want to read through them all.
The inventory tab is where you will find everything about your stock, including how many units are in each product, the price of each item, etc. The store tab is essentially your customer information section where you can input specific information that pertains to your individual establishment.
Once you have gone through all of these settings and are satisfied with them save it and move on to the next step.
Setting up your registers.
The next thing you should do once everything is set up in the POS program is to go through all of your registers and add your items into them. You will need a basic understanding of how each product should be added since different companies have different naming conventions for their products, but usually it isn’t too difficult to figure out.
For example, if you are adding a bottle of ketchup just put “ketchup” into the product name line and then on the next one add “bottle.” From there you can just keep adding units until it adds up to the number in your inventory tab.
Setting up your customer information.
The last step before you go live is to set up your customer information under the store tab in your POS program. Everything here should be fairly self-explanatory and it’s just a matter of putting in each piece of relevant information such as first name, last name, email address, etc.
Once this is all finished you can now open up your check-out lines and start ringing your customers up.